Set Up Auto-reply in Webmail
Our Cloudmail service supports the editing of automatic replies in case of absence directly in the Roundcube webmail interface, which can be found at https://webmail.vshosting.cloud/roundcube/.
Configuration steps
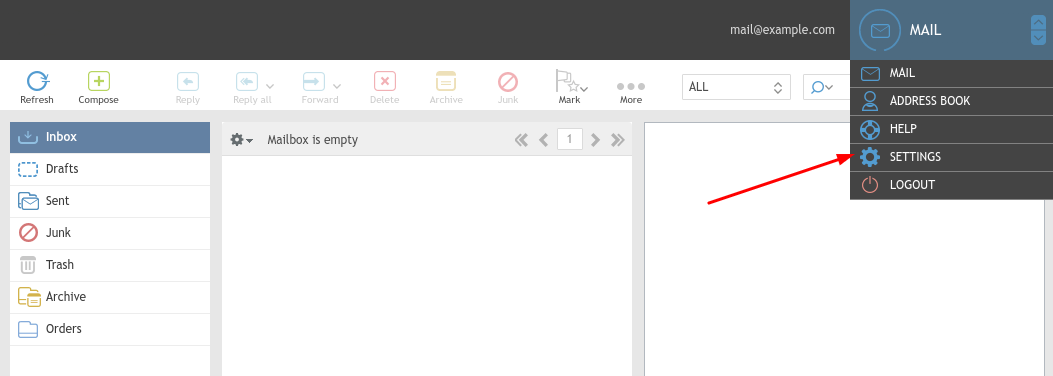
- After logging in to your mailbox, point mouse on the button in the upper right corner (E-MAIL by default) to display a dropdown menu. Then select SETTINGS in this menu.
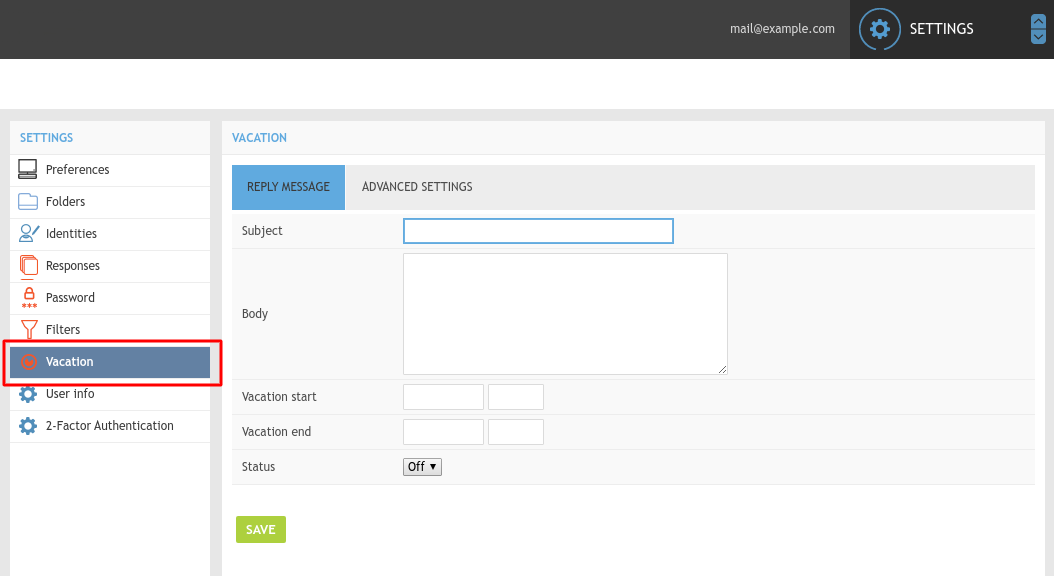
- After selecting the Vacation option, which you will find in the menu on the left, you will see basic settings for automatic replies.
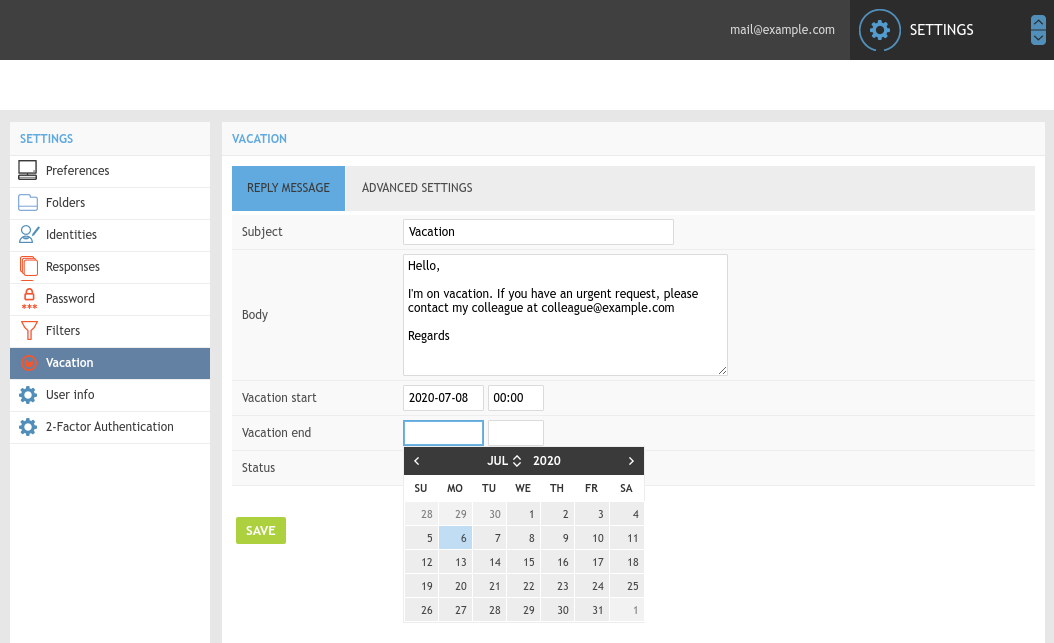
- When you type in the content of the message, choose the time of the start and the end of your absence. After clicking in the window for entering date, a calendar will be displayed for your convenience. To activate the automatic answer, change the status to On and save the changes.
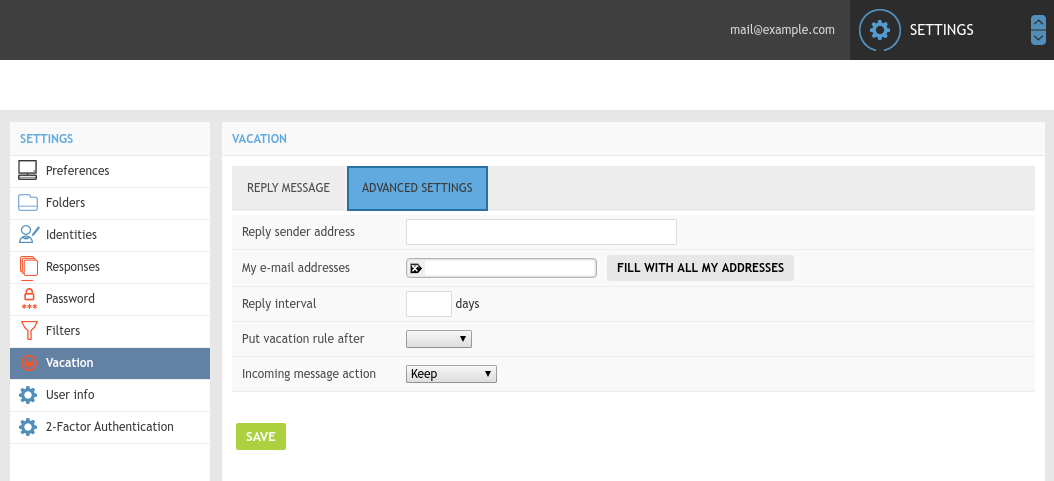
- Compared to setting-up automatic reply directly in the CloudMail administration interface, which supports only editing the e-mail body and the start/end of your absence, has more advanced options. You will find them in the ADVANCED SETTINGS tab. There you can add other e-mail addresses, an interval between replies, or decide what should happen with the received message during your absence.
Important information
Usually, when updating some fields in Cloudmail, only the ones, that were changed, will be overwritten in RoundCube configuration. But there are several exceptions, where CloudMail will completely overwrite RoundCube settings. These are:
- If the rule in the RoundCube was marked as inactive (Status = Off)
- If something other than only autoreply was configured in one rule (eg. forward)
- If the time rule is more complex than the classic date and time (eg. day of the week, day of the month, date according to the Julian calendar, etc.)