Calendar - Contact Sharing in Thunderbird
These instructions are for the CloudMail service
Setting up a shared calendar in Thunderbird:
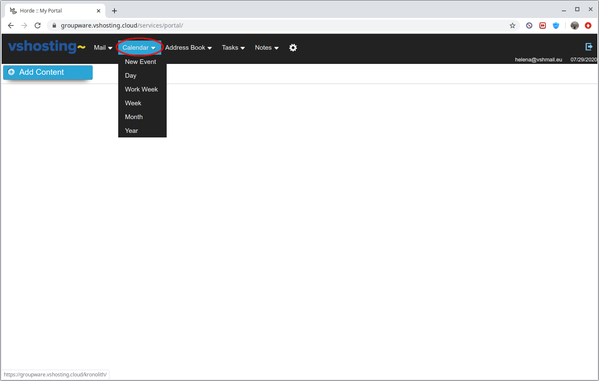
- Log in at http://groupware.vshosting.cloud/ with your Cloudmail credentials.
- Click on the Calendar menu.
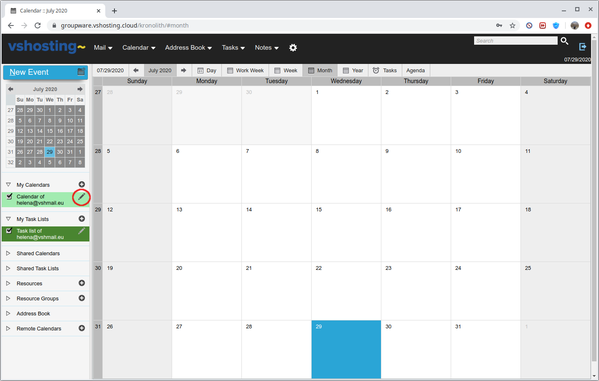
- Click Edit on your calendar (the pencil icon).
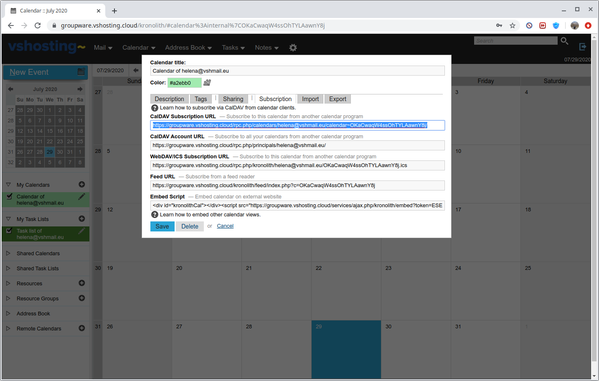
- From the Subscription tab, copy the CalDAV Subscription URL.
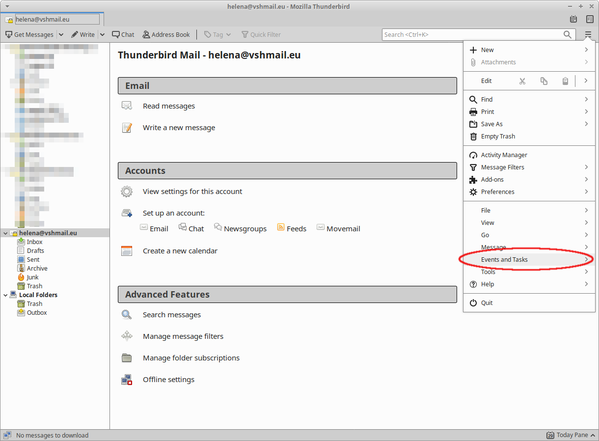
- Start Thunderbird. Select Events and Tasks in the menu, then Calendar.
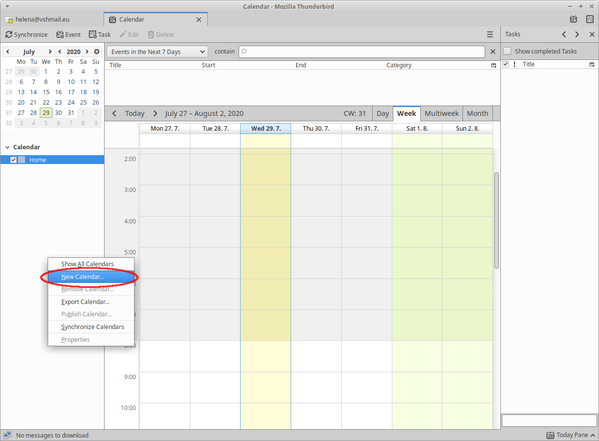
- In the blank space below the list of calendars, right-click and select New Calendar.
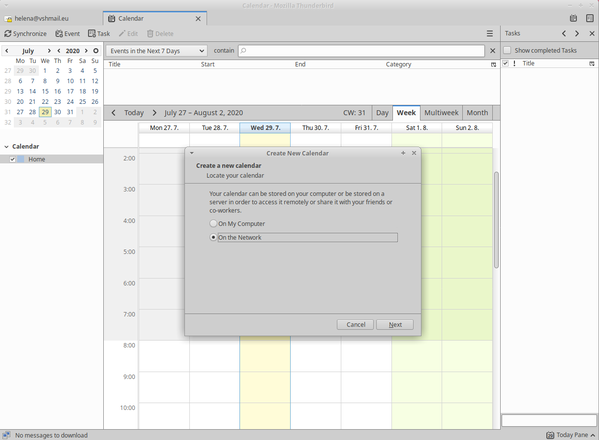
- Select On the Network.
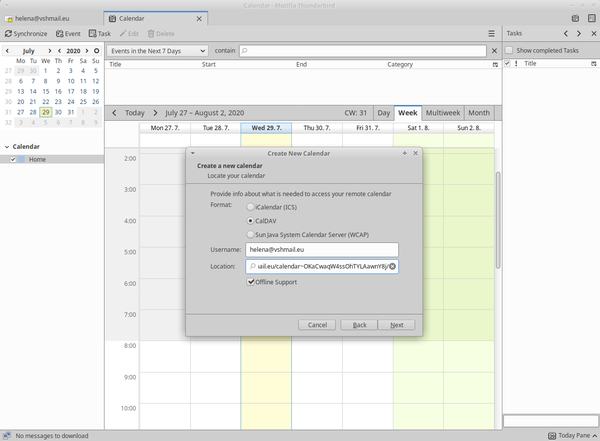
- Choose CalDAV and fill in Username (your CloudMail account) and Location (the link copied from groupware administration).
Setting up shared contacts in Thunderbird
- Install TbSync and Provider for CalDAV & CardDAV Add-ons to Thunderbird.
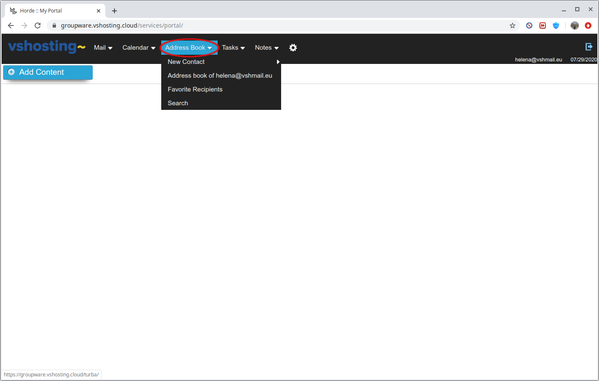
- Log in at http://groupware.vshosting.cloud/ with your CloudMail credentials and click on Address Book menu.
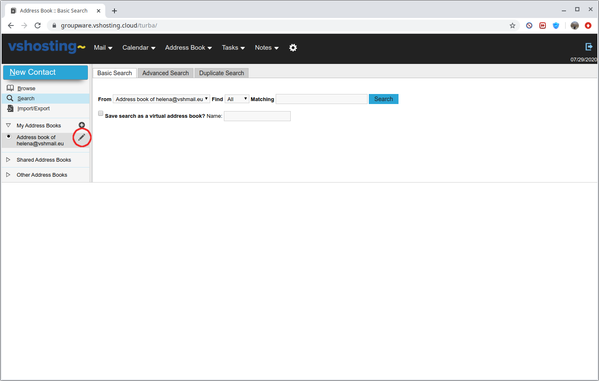
- Click Edit on your address book (the pencil icon).
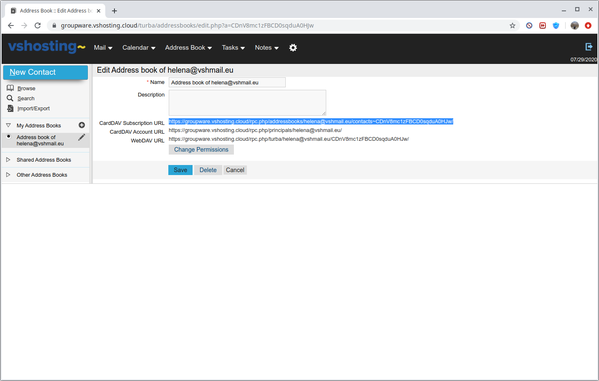
- Copy CardDAV Subscription URL.
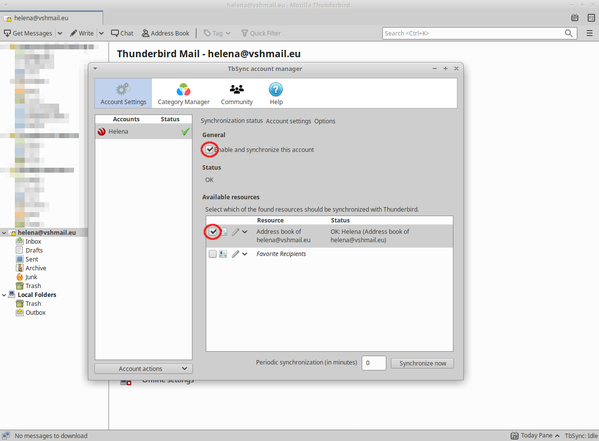
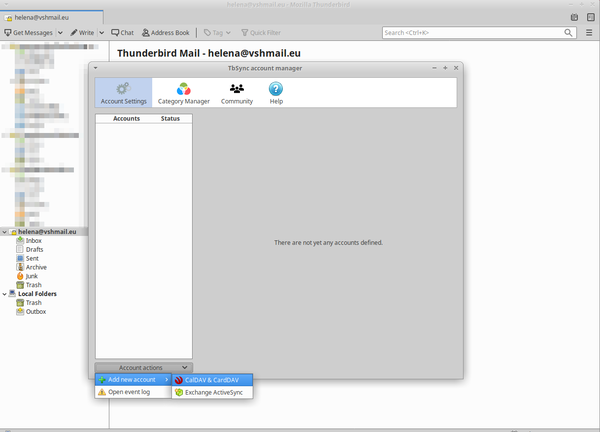
- Start Thunderbird. In the menu, select Add-ons and click TbSync.

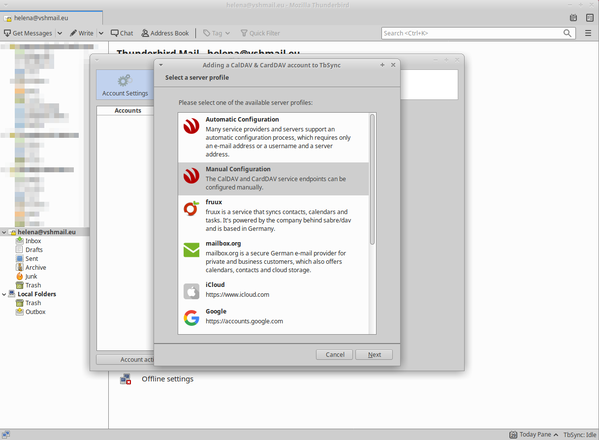
- In Account actions menu, choose Add new account and then CalDAV & CardDAV.
- Select Manual Configuration
- Fill in your CloudMail account credentials and CardDAV server address (the link copied from the groupware administration).

- Select Enable and synchronize this account and Address book from administration.