Calendar - Contact Sharing in MS Outlook
These instructions are for CloudMail service
Setting up Calendar sharing in MS Outlook
- Download Outlook CalDav Synchronizer extension and install it.
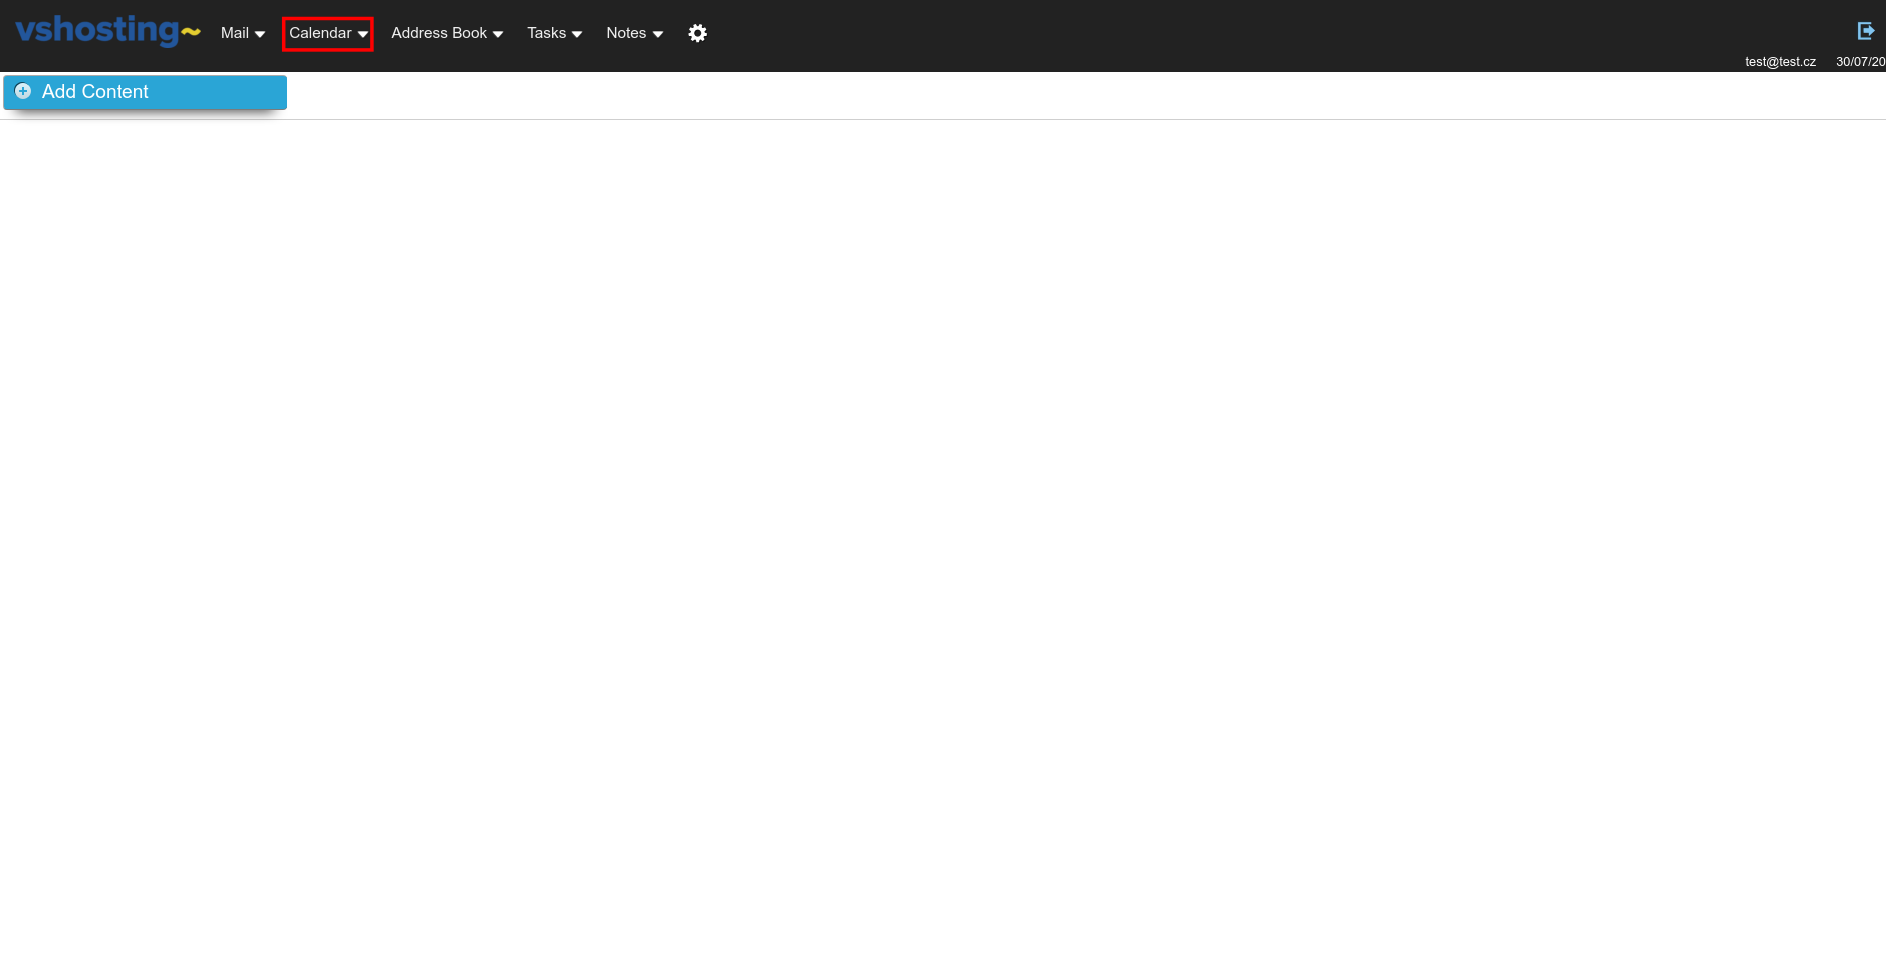
- Login to http://groupware.vshosting.cloud/ with your CloudMail credentials.
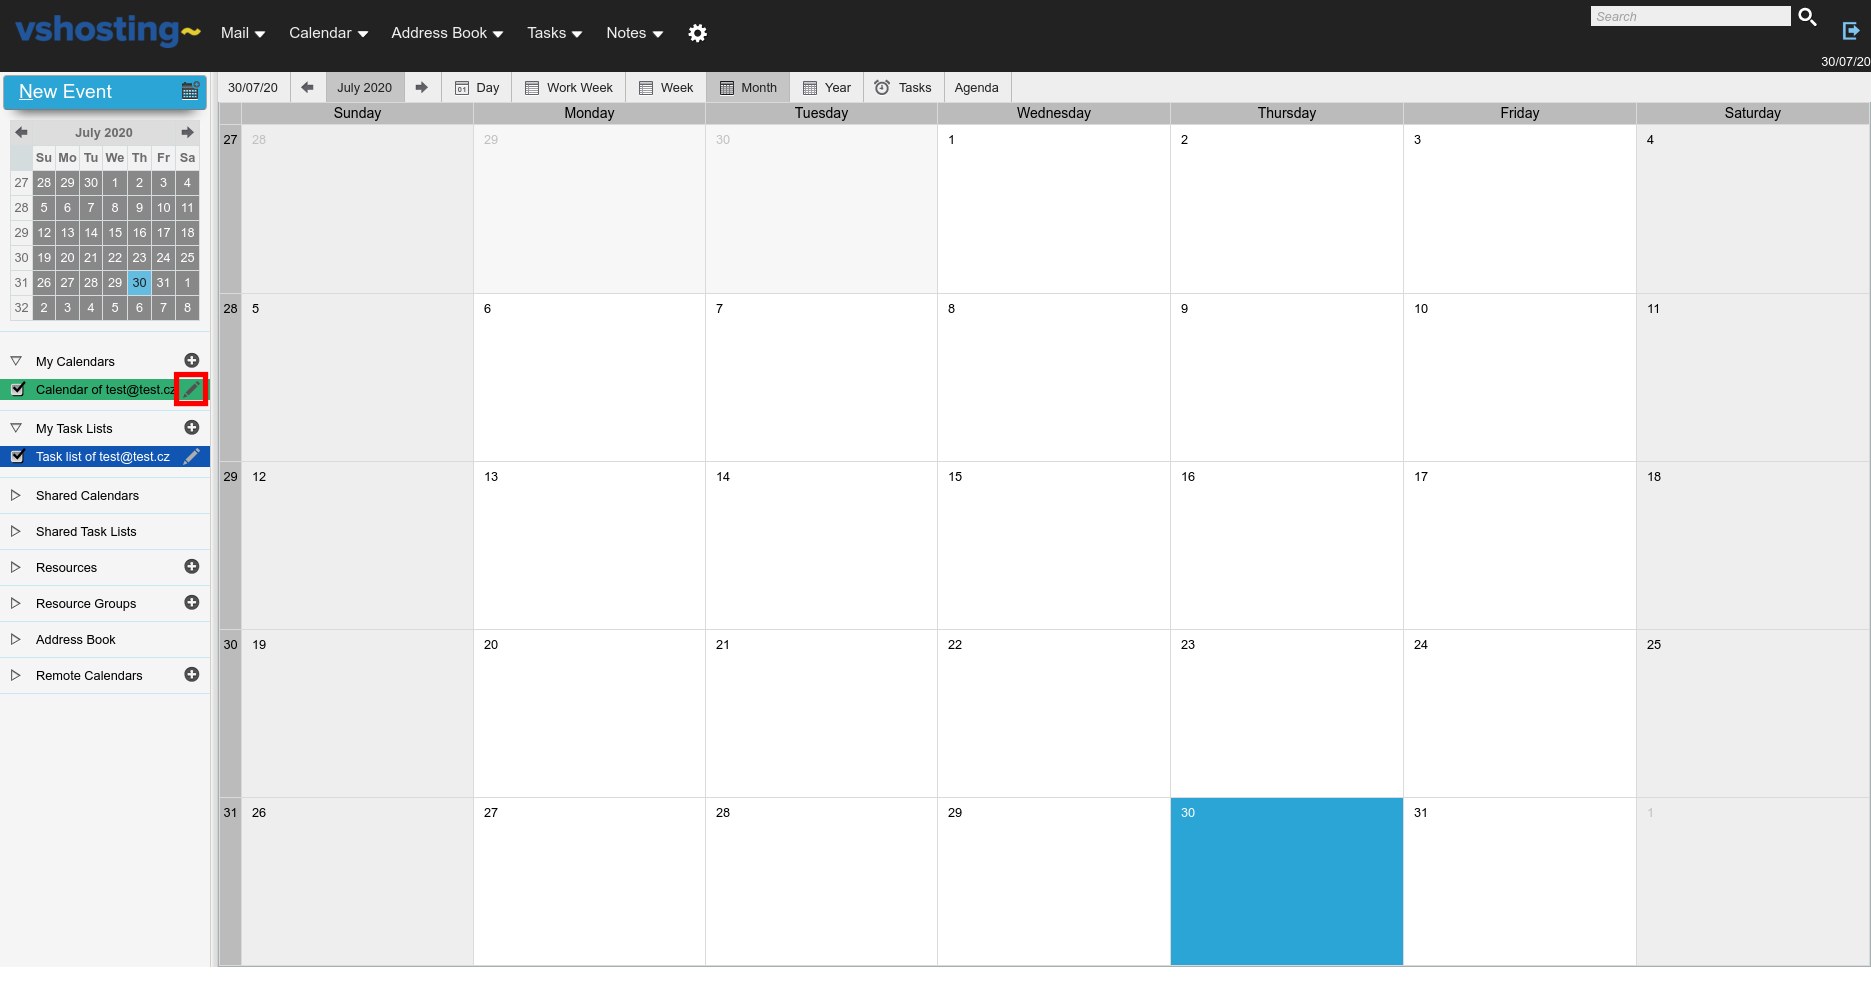
- Click on Calendar
- Choose the Edit option
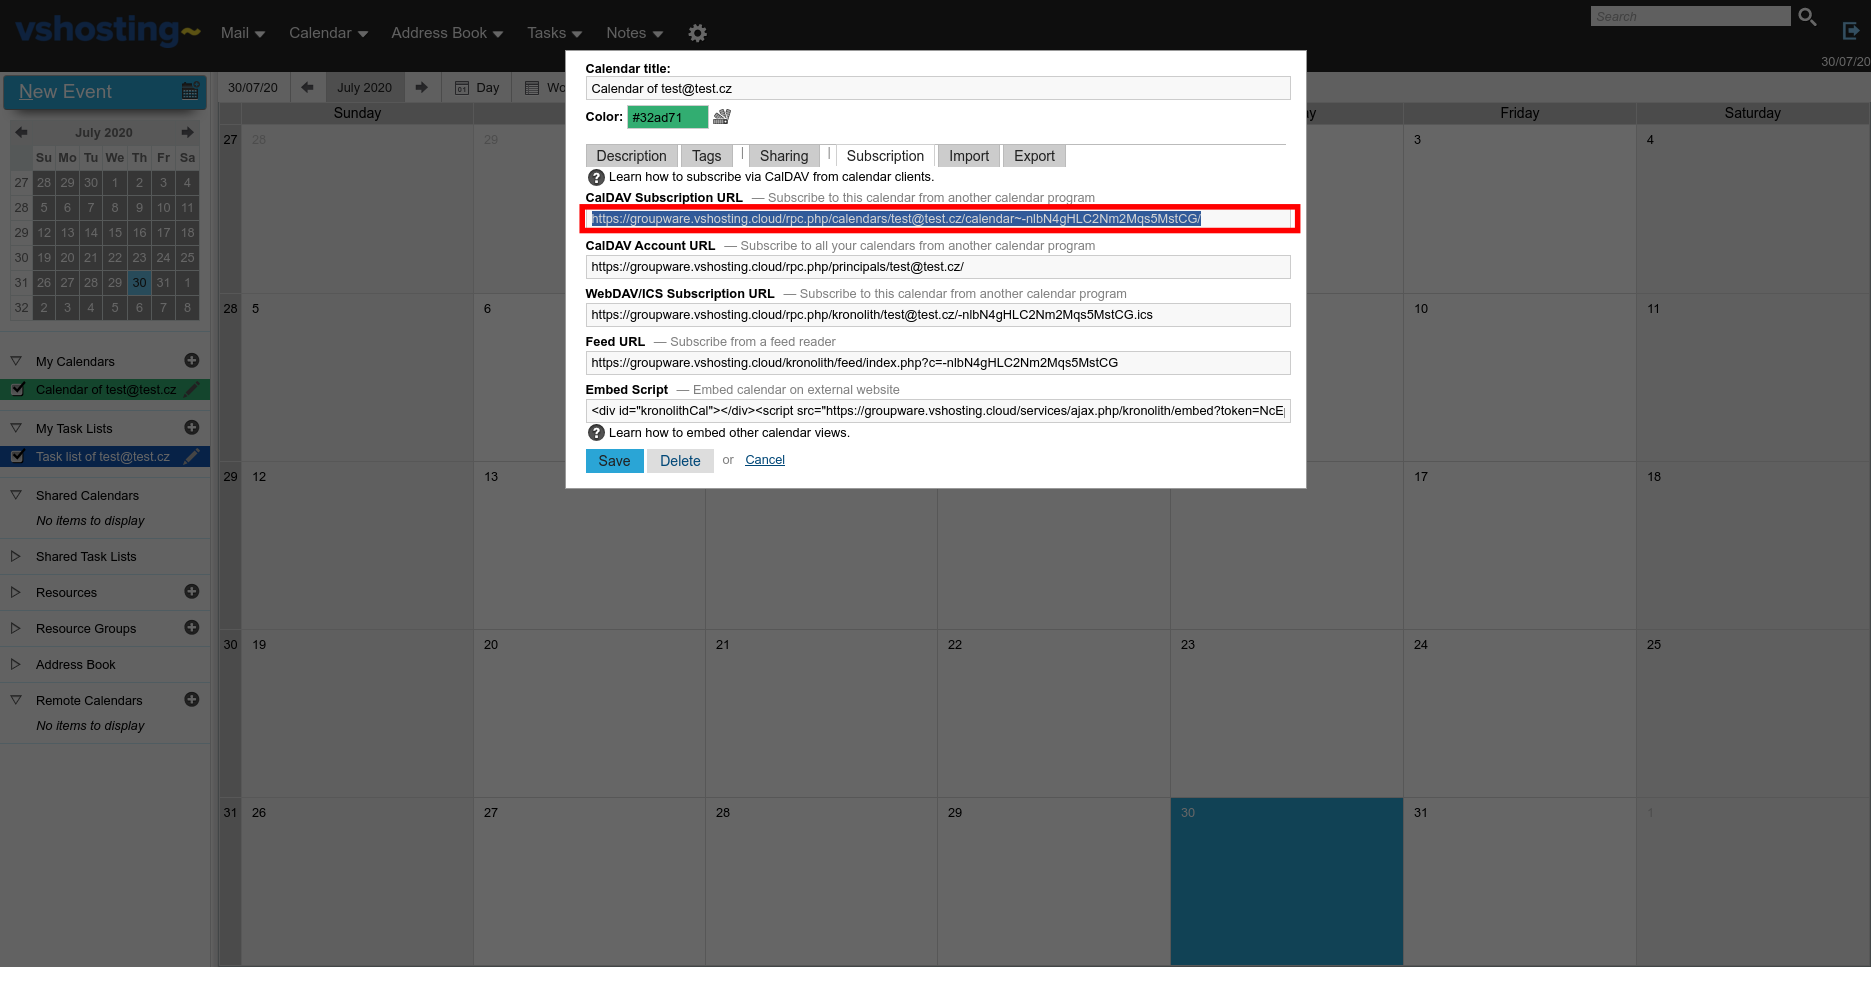
- In the Subscription tab, copy the CalDav URL of the calendar
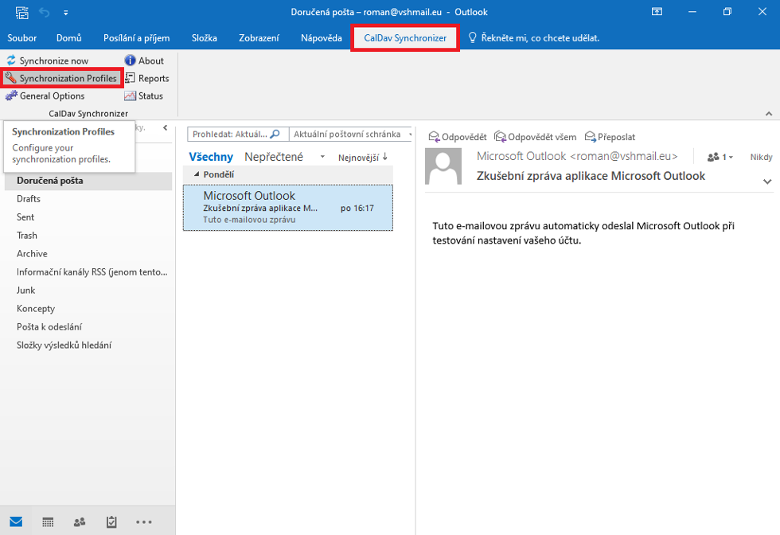
- Launch MS Outlook with Outlook CalDav Synchronizer extension installed. Choose CalDav Synchronize in the top bar and then the Synchronization Profiles option.****
- Click on Add new profile, then choose Generic CalDav/CardDav.

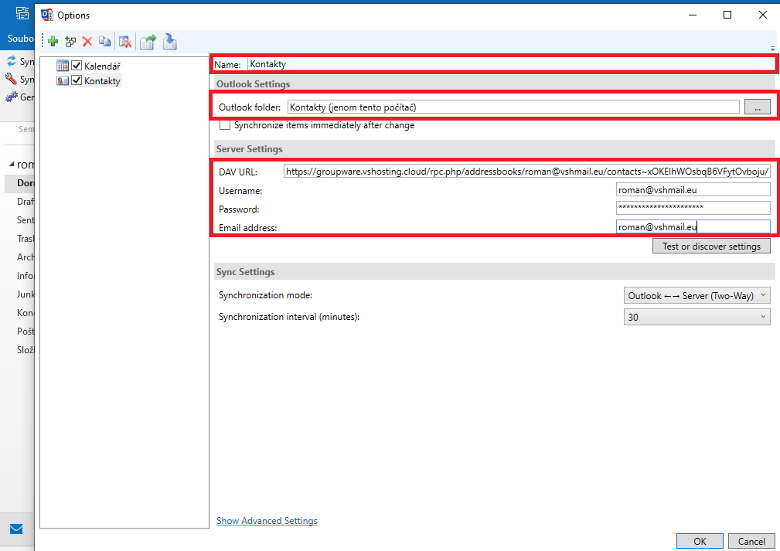
- Finally, enter the name, path and DAV URL (the one you got at https://groupware.vshosting.cloud/). Then enter username and password and email address (CloudMail credentials). Afterwards, you can choose the synchronization interval for your calendar.
Setting up contact sharing in MS Outlook
- The first steps, extension installation and logging to CloudMail groupware, are the same as in setting up a calendar.
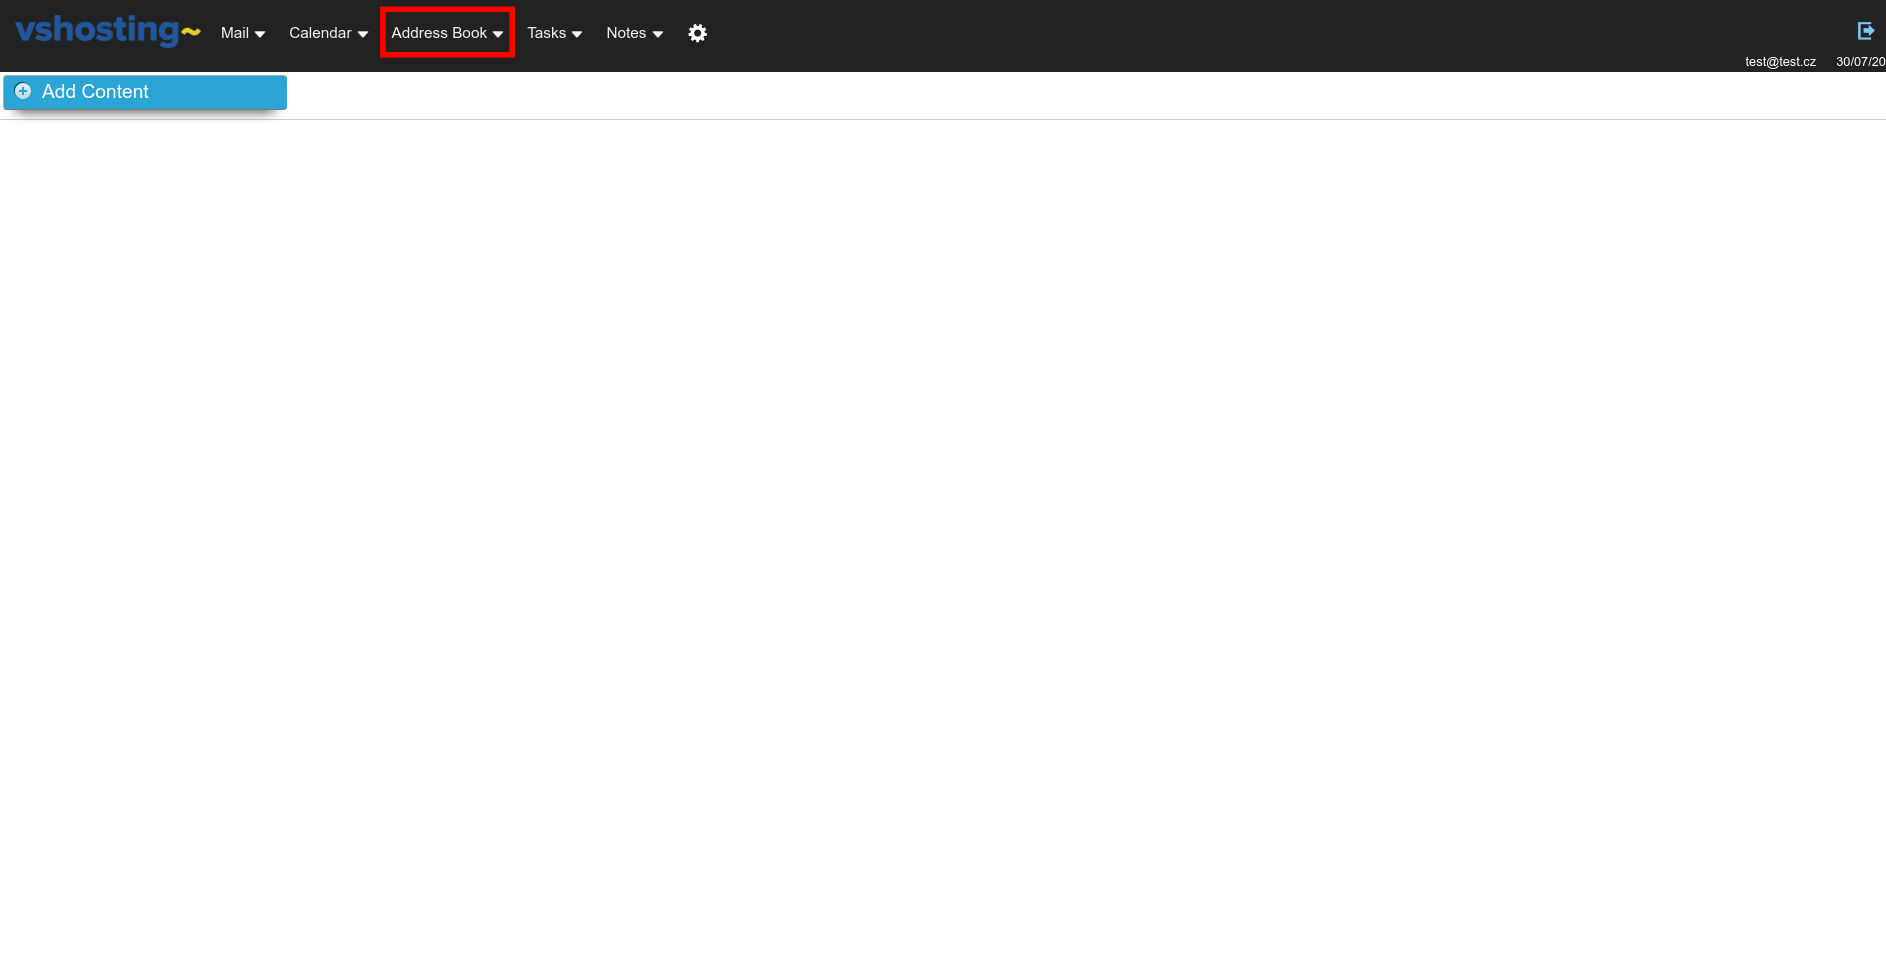
- Then click on Contacts.
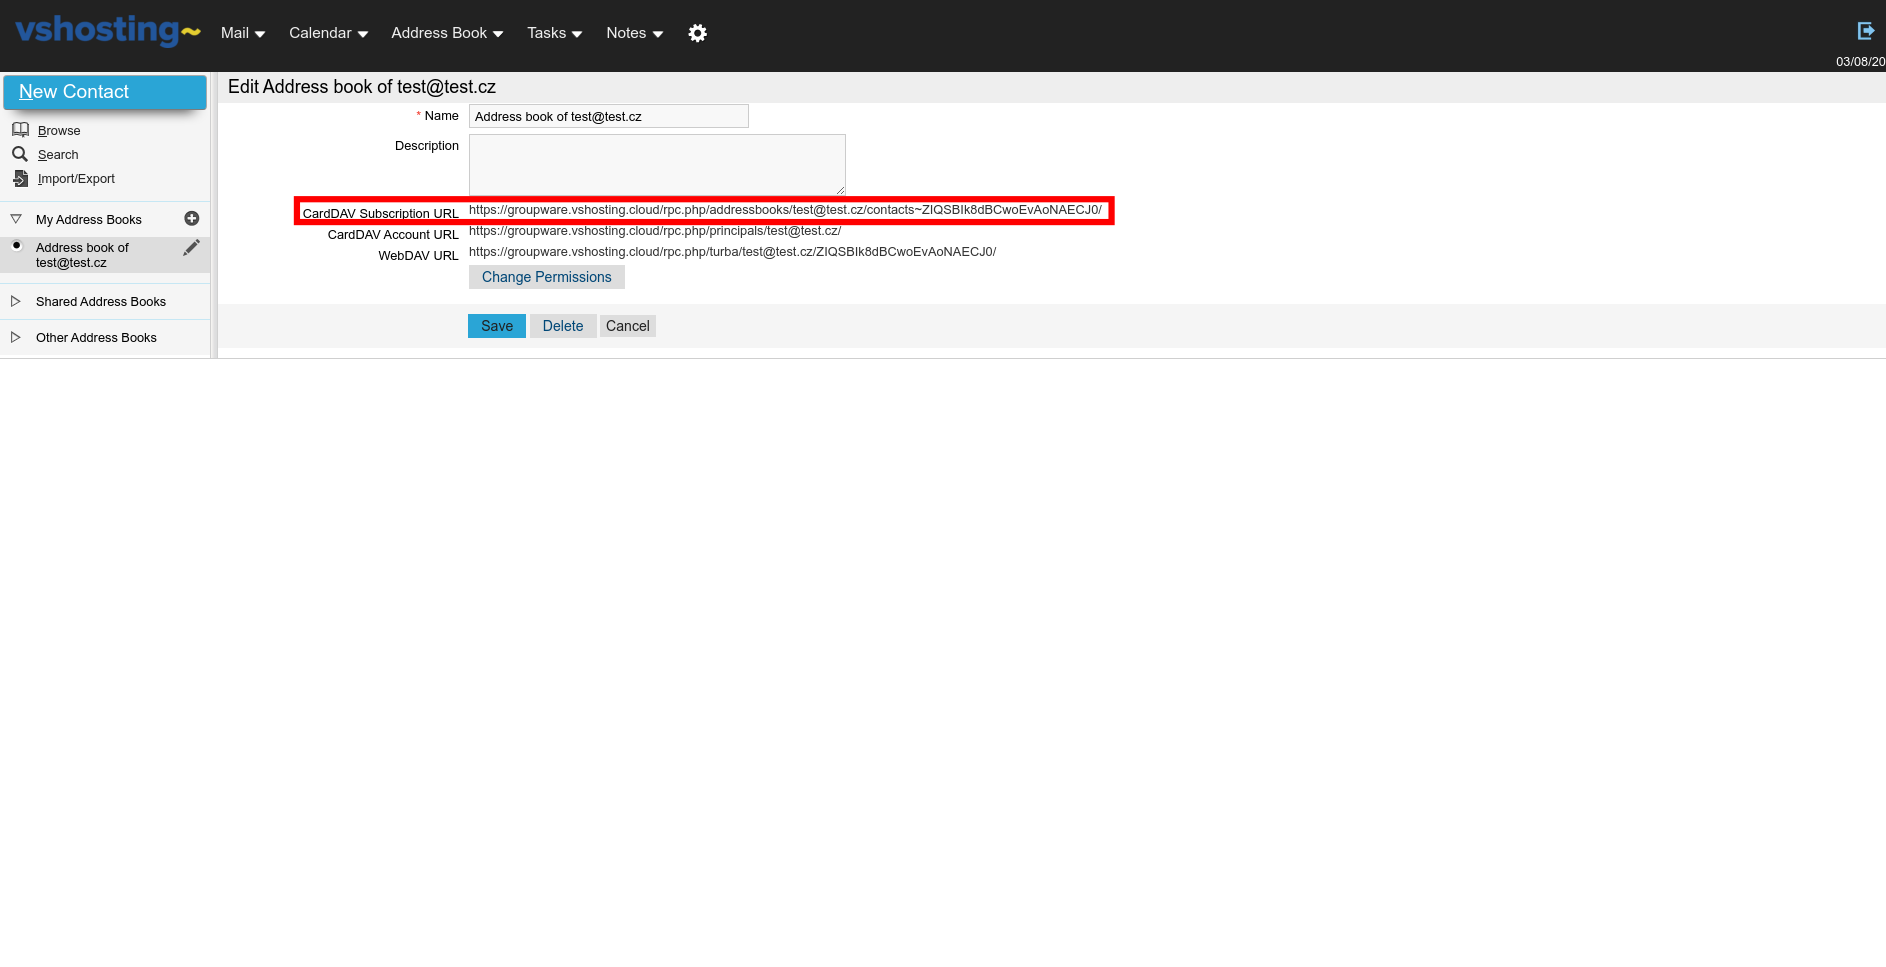
- Choose Edit on one of your contact lists.

- Copy the CardDav URL.
- Launch MS Outlook with the Outlook CalDav Synchronizer extension installed. Click on CalDav Synchronize on the top bar and choose the Synchronization Profiles option.
- Finally, enter name, path and DAV URL (copied from https://groupware.vshosting.cloud/). Then enter username, password and email address (CloudMail credentials). Afterwards, you can choose the synchronization interval for your contacts.